![]()
![]() Drawing with chalk on the sidewalk and
driveway is very different from creating on paper or a chalkboard. Working in
this way allows you to draw really big, and it's fun to create outside with the
birds chirping and the sun shining down on your masterpiece! It's possible to
make your own chalk by reusing some common materials, which will help save
natural resources and landfill space.
Drawing with chalk on the sidewalk and
driveway is very different from creating on paper or a chalkboard. Working in
this way allows you to draw really big, and it's fun to create outside with the
birds chirping and the sun shining down on your masterpiece! It's possible to
make your own chalk by reusing some common materials, which will help save
natural resources and landfill space.
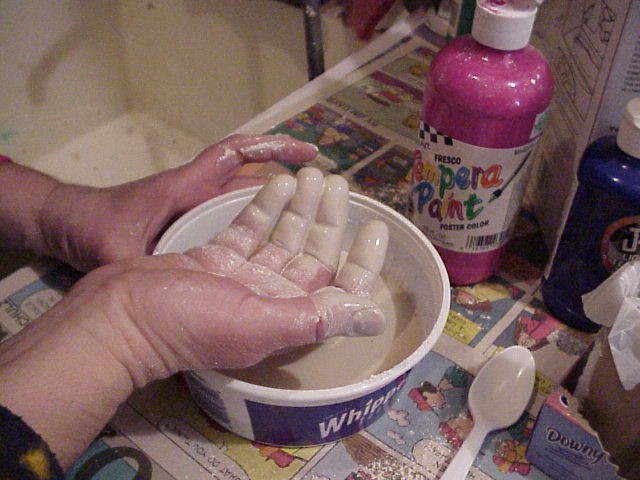
When working with plaster of Paris avoid prolonged contact with bare skin. Rubber gloves would be useful in protecting your hands.
Do not get plaster of Paris in your eyes.
The sidewalk chalk is not recommended for use on chalkboards.
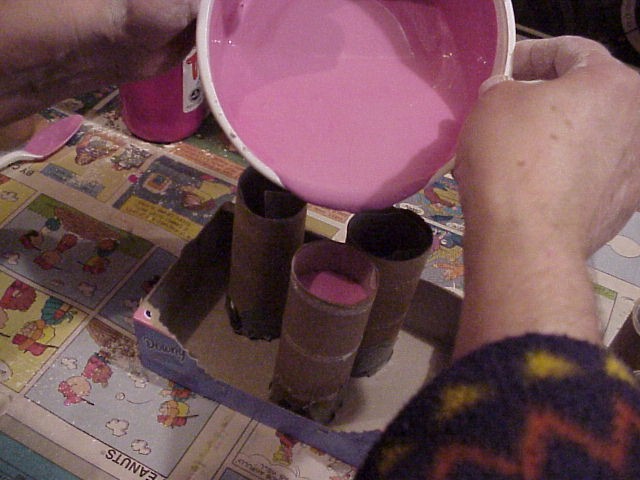
To save money, buy plaster of Paris at a discount store or lumberyard rather than at craft or paint stores. You will need about one, unpacked cup of plaster for each ½ cup of water.
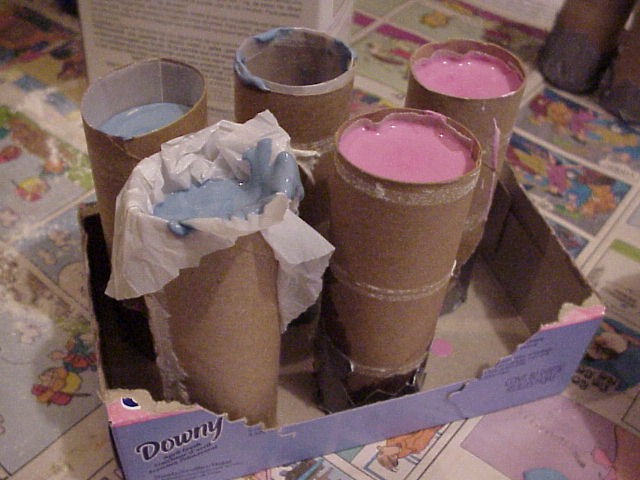
Plastic baggies or plastic from shopping bags can also be used to line the cardboard tubes instead of waxed paper.
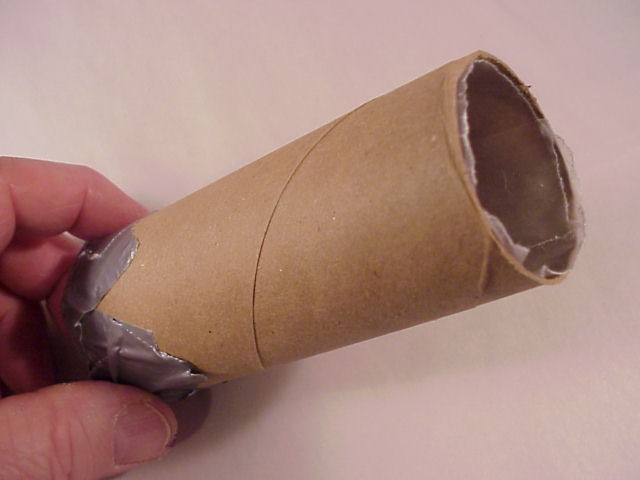
If you wish, substitute cardboard gift wrap tubes for the toilet paper tubes. Just cut the tube into five or six-inch lengths.
The basic or primary colors are red, yellow, and blue, and all other colors, except black and white, are made by mixing them.
The following color mixing chart will help you make additional colors. Mix equal amounts of each color to make the secondary colors. They are orange, green, and violet or purple..
| Color Mixing Table | |||
|---|---|---|---|
| First Color | + | Second Color | Results |
| red | + | yellow | orange |
| yellow | + | blue | green |
| red | + | blue | violet |
The tertiary colors are red-orange, yellow-orange, blue-green, yellow-green, red-violet, and blue-violet. Mix equal amounts of each to make them.
| Tertiary Color Mixing Table | |||
|---|---|---|---|
| First Color | + | Second Color | Results |
| red | + | orange | red-orange |
| yellow | + | orange | yellow-orange |
| blue | + | green | blue-green |
| yellow | + | green | yellow-green |
| red | + | violet | red-violet |
| blue | + | violet | blue-violet |
Mixing plaster properly takes a little practice. If the mixture is too liquid, it will take a long time to set up, and the finished stick of chalk will be weak. On the other hand, if you add too much plaster of Paris to the water, it will harden very fast, and it will be difficult to use.
Never mix plaster in a metal container, because you'll be unable to remove it or clean the container when the plaster hardens. Also, be very careful about cleaning up after working with the material. Plaster can clog sink drains! Clean your hands by wiping the plaster on a rag or paper towels, and then rinse in a bucket of water. To remove plaster from the mixing container, wait till it dries, and then scrape it into a trash can.
In addition to drawing pictures on the sidewalk, use the chalk to lay out a hop scotch grid or another game. Visit Sidewalk Chalk Fun to learn some new games..
© 2008 Marilyn J. Brackney
Volume 16 No. 1
![]() Return to Toys & Games Page
Return to Toys & Games Page
Select this to
choose other toys and games lessons.